
This article may contain outdated information as it was published 11 years ago.
A while ago, I was working on a Three.js project and had to implement a HUD (Head-up display). Most of the tutorials I found suggested using HTML elements on top of a WebGL canvas element. While that’s a nice solution, I was, unfortunately, unable to use it. I was targeting my project to Oculus Rift using WebVR, and WebVR doesn’t currently support the rendering of DOM-elements.
So I had to rely on pure Three.js. I wasn’t able to find any good tutorials about how to create HUD without DOM elements, so I decided to write one myself. Let’s go!
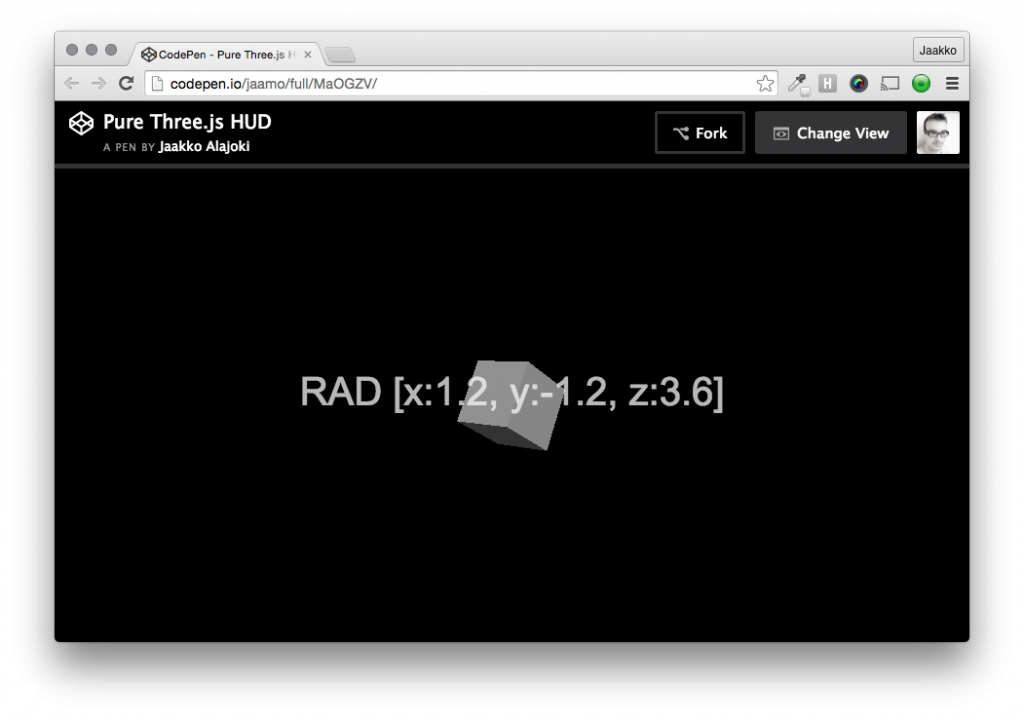
The basic concept is that I am creating a separate scene for HUD and rendering that on top of my original scene. The HUD scene is very straightforward. I’ll create only one plane to fit the whole screen and use a 2D canvas to dynamically create a HUD texture. This solution makes text rendering dead simple. A live demo is available on Codepen.
I assume you know how to do a 3D scene – so I’ll just show you what you need to modify to get the HUD working.
First, we will create a canvas and use that to render the HUD. We will also make the canvas to fit the screen size and initialize the 2D drawing context.
var hudCanvas = document.createElement('canvas');
hudCanvas.width = width;
hudCanvas.height = height;
var hudBitmap = hudCanvas.getContext('2d');
Now we’re ready to render the actual HUD! You can let your imagination fly. I’m just using stupid white text and placing it on the screen. You can use all available 2D canvas drawing primitives.
hudBitmap.font = "Normal 40px Arial";
hudBitmap.textAlign = 'center';
hudBitmap.fillStyle = "rgba(245,245,245,0.75)";
hudBitmap.fillText('Initializing...', width / 2, height / 2);
Then we need to create a new camera. The camera will be orthographic and we will make it match the dimensions of your window. That makes it possible to use a pixel-perfect 2D image as a HUD.
var cameraHUD = new THREE.OrthographicCamera(
-width/2, width/2,
height/2, -height/2,
0, 30
);
Then we need to create a new scene.
sceneHUD = new THREE.Scene();
Next, we will create a material by using the 2D graphics we just rendered.
var hudTexture = new THREE.Texture(hudCanvas)
hudTexture.needsUpdate = true;
var material = new THREE.MeshBasicMaterial( {map: hudTexture } );
material.transparent = true;
Now we need to create a plane, apply the material to it and add it to the scene. The plane size is again matching the screen dimensions.
var planeGeometry = new THREE.PlaneGeometry( width, height );
var plane = new THREE.Mesh( planeGeometry, material );
sceneHUD.add( plane );
Now, we just need to add a new render call to the render loop.
renderer.render(sceneHUD, cameraHUD);
Hooray! The HUD is ready. You can check the demo and full source code at Codepen.io.
Questions? Send us a message.